ALL STAR APPLIQUE! Make your own Christmas Sweater for your Holiday Get Togethers
I'm from Iowa, grew up on a farm near Winterset, Iowa. The land of craft empires. Did you know that? Winterset is a huge quilt and craft community, during my high school years, people pilgramaged to it. Its the birthplace of John Wayne, the home of Fons and Porter- the successful mega quilt business, and the Bridges of Madison County, and its just a darn cute and pretty small town. Oprah once visited and she screamed in front a famous covered bridge "ROMANCE IS ALIVE!!! IN MADISON COUNTY IOWA!!!" Yeahhh... That's where they make people like me.
I grew up going to huge craft fairs right in our town square. I would look at quilts and dolls, and home interiors, and then I would go home and make that stuff too. I loved it! What does that have to do with Chrismas crafting?
Because seriously, Christmas crafting brings out the most fun colors, crazy contrasts, lots of silly crafty crafterton wonders of bad but so good combinations. Like awesome appliqués or your husband's Christmas Cat shirt.
This weekend, Paul and I decided that we wanted Christmas outfits. Learn how to appliqué with Wonder Under and make your own ugly/beautiful/hilarious Christmas sweater.
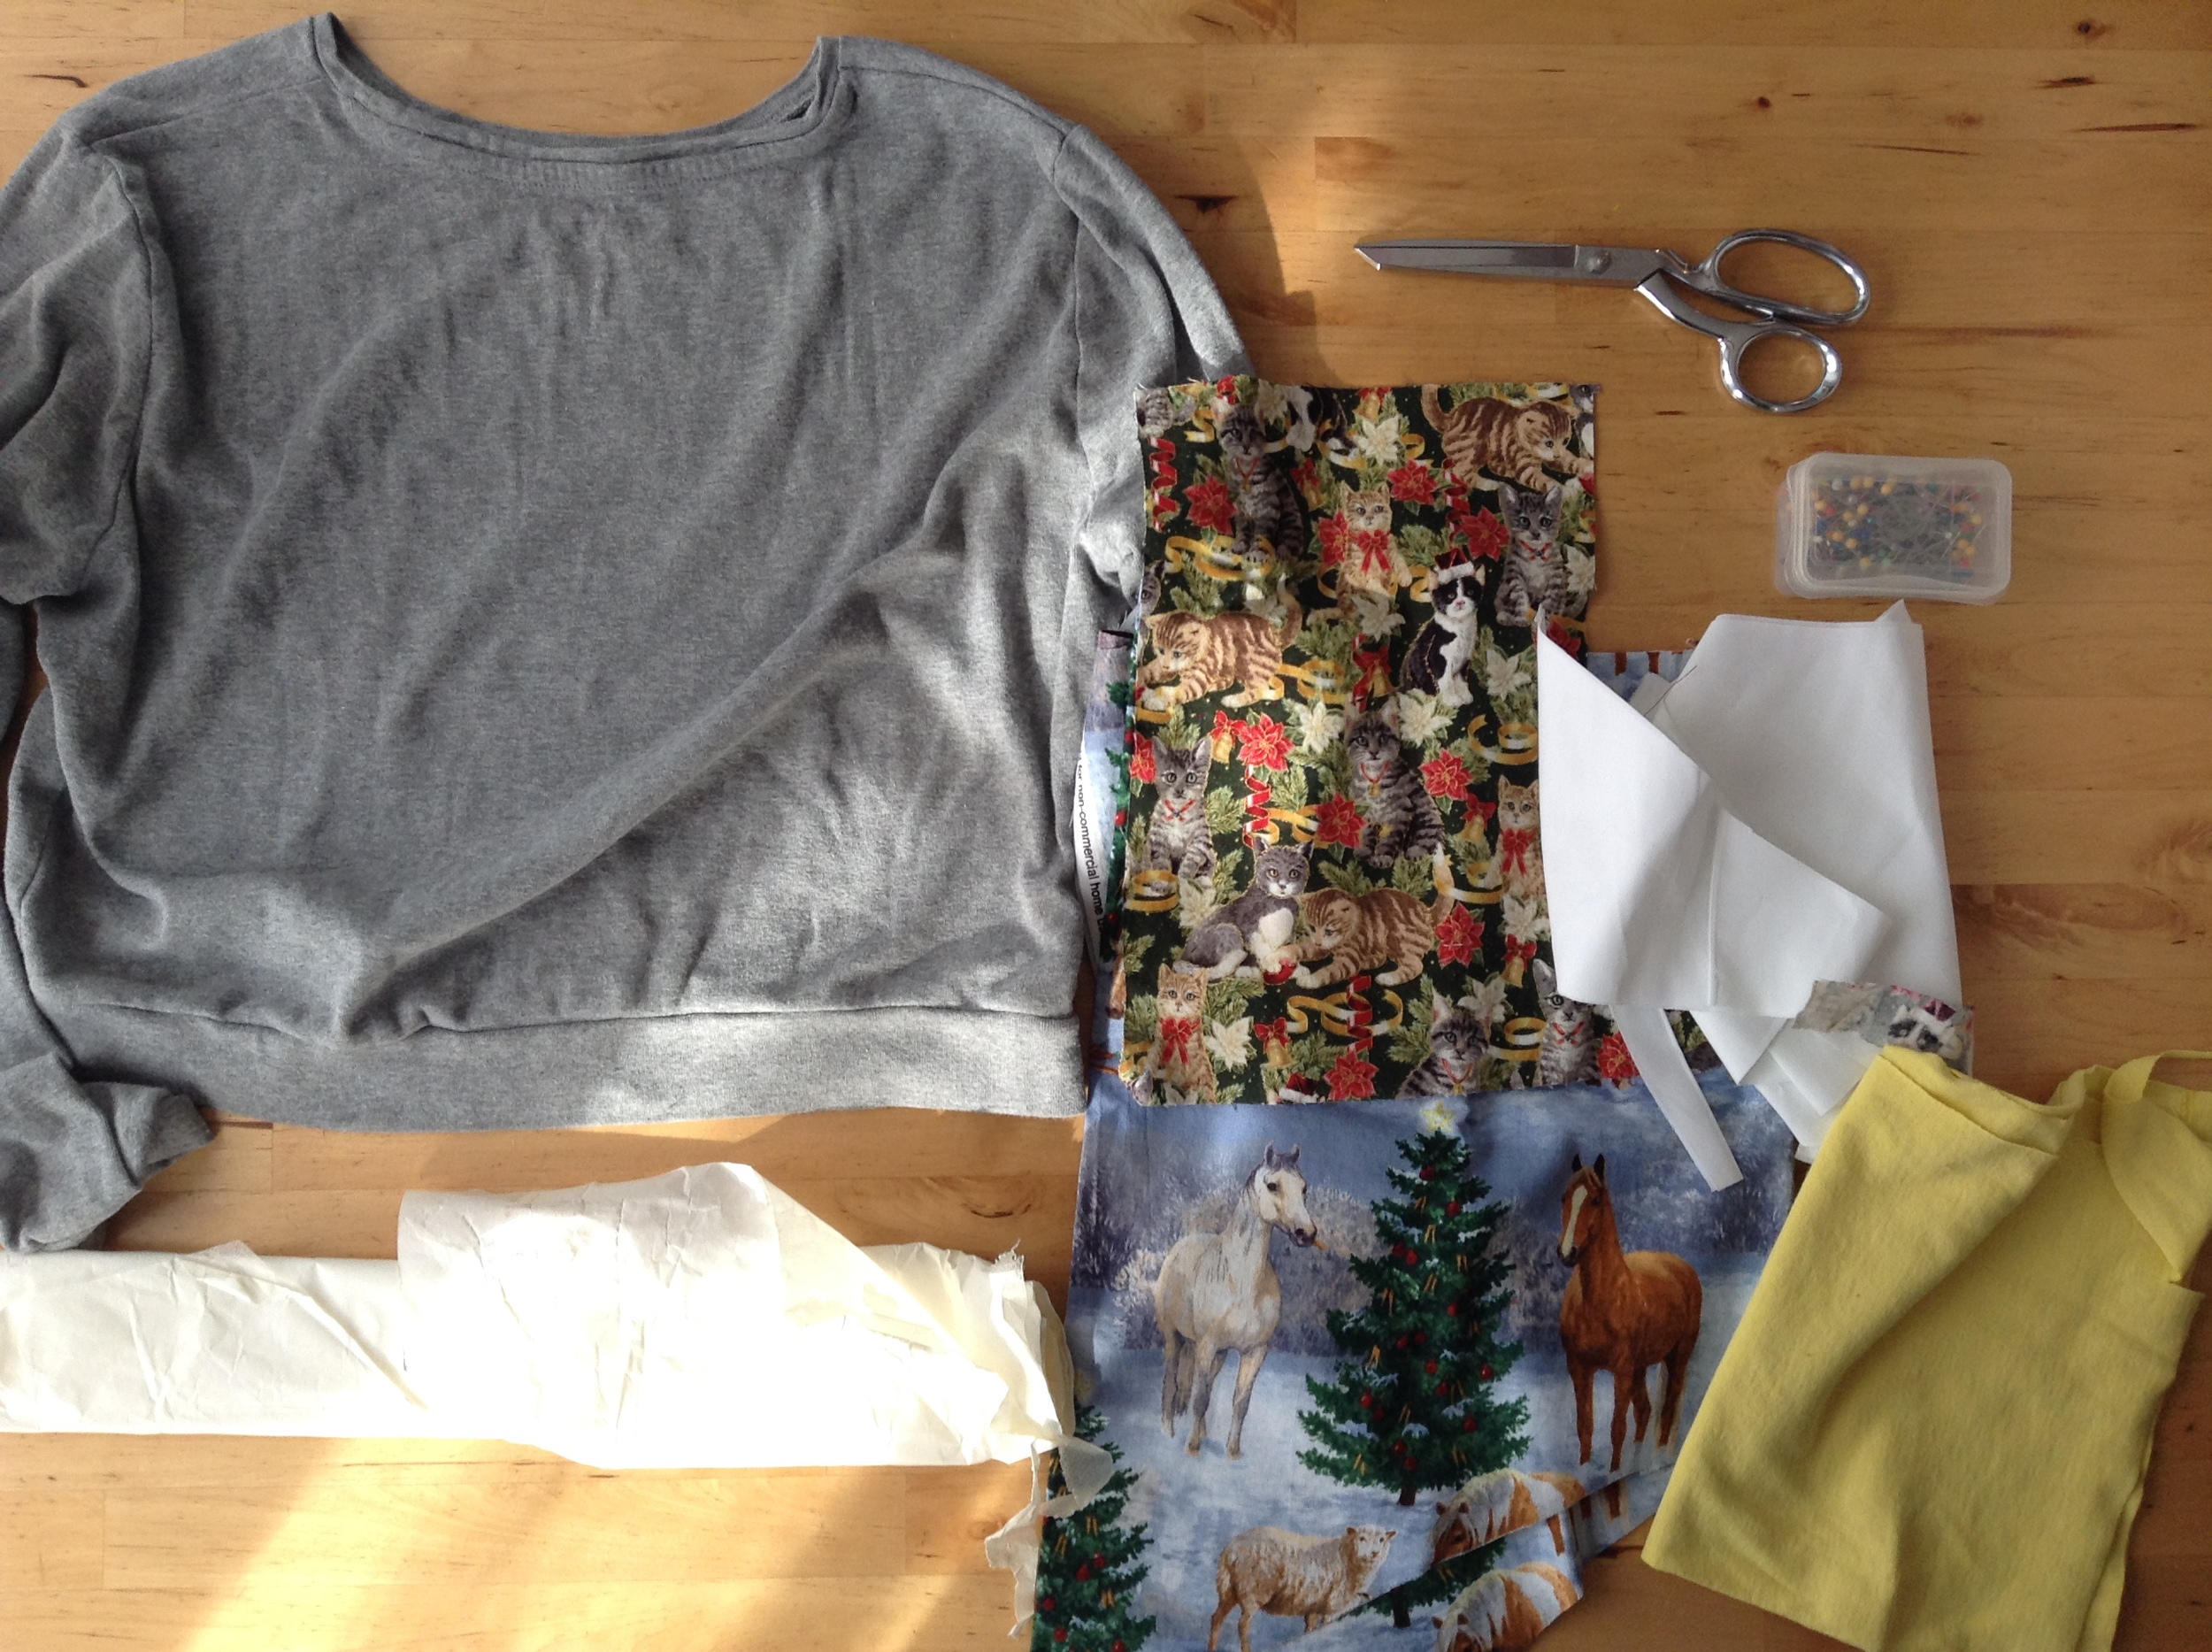
Here are your supplies. Be sure to buy some Wonder Under and some funny Christmas fabric.
What you need:
A blank sweater or sweatshirt.
Remember that crop top sweater I made a few weeks ago? Go back and visit that tutorial if you want to customize your sweater.
Random scrap fabric- whatever you need to make the Christmas appliqué of your dreams.
Wonder Under. This fantastic material can be found at most craft stores. I have a whole role of it from my appliqué days in graduate school. But you can buy a small amount too. You don't need very much for this project.
Scissors, Pins, Iron, and Sewing Machine
Step 1: Cut out your scraps.
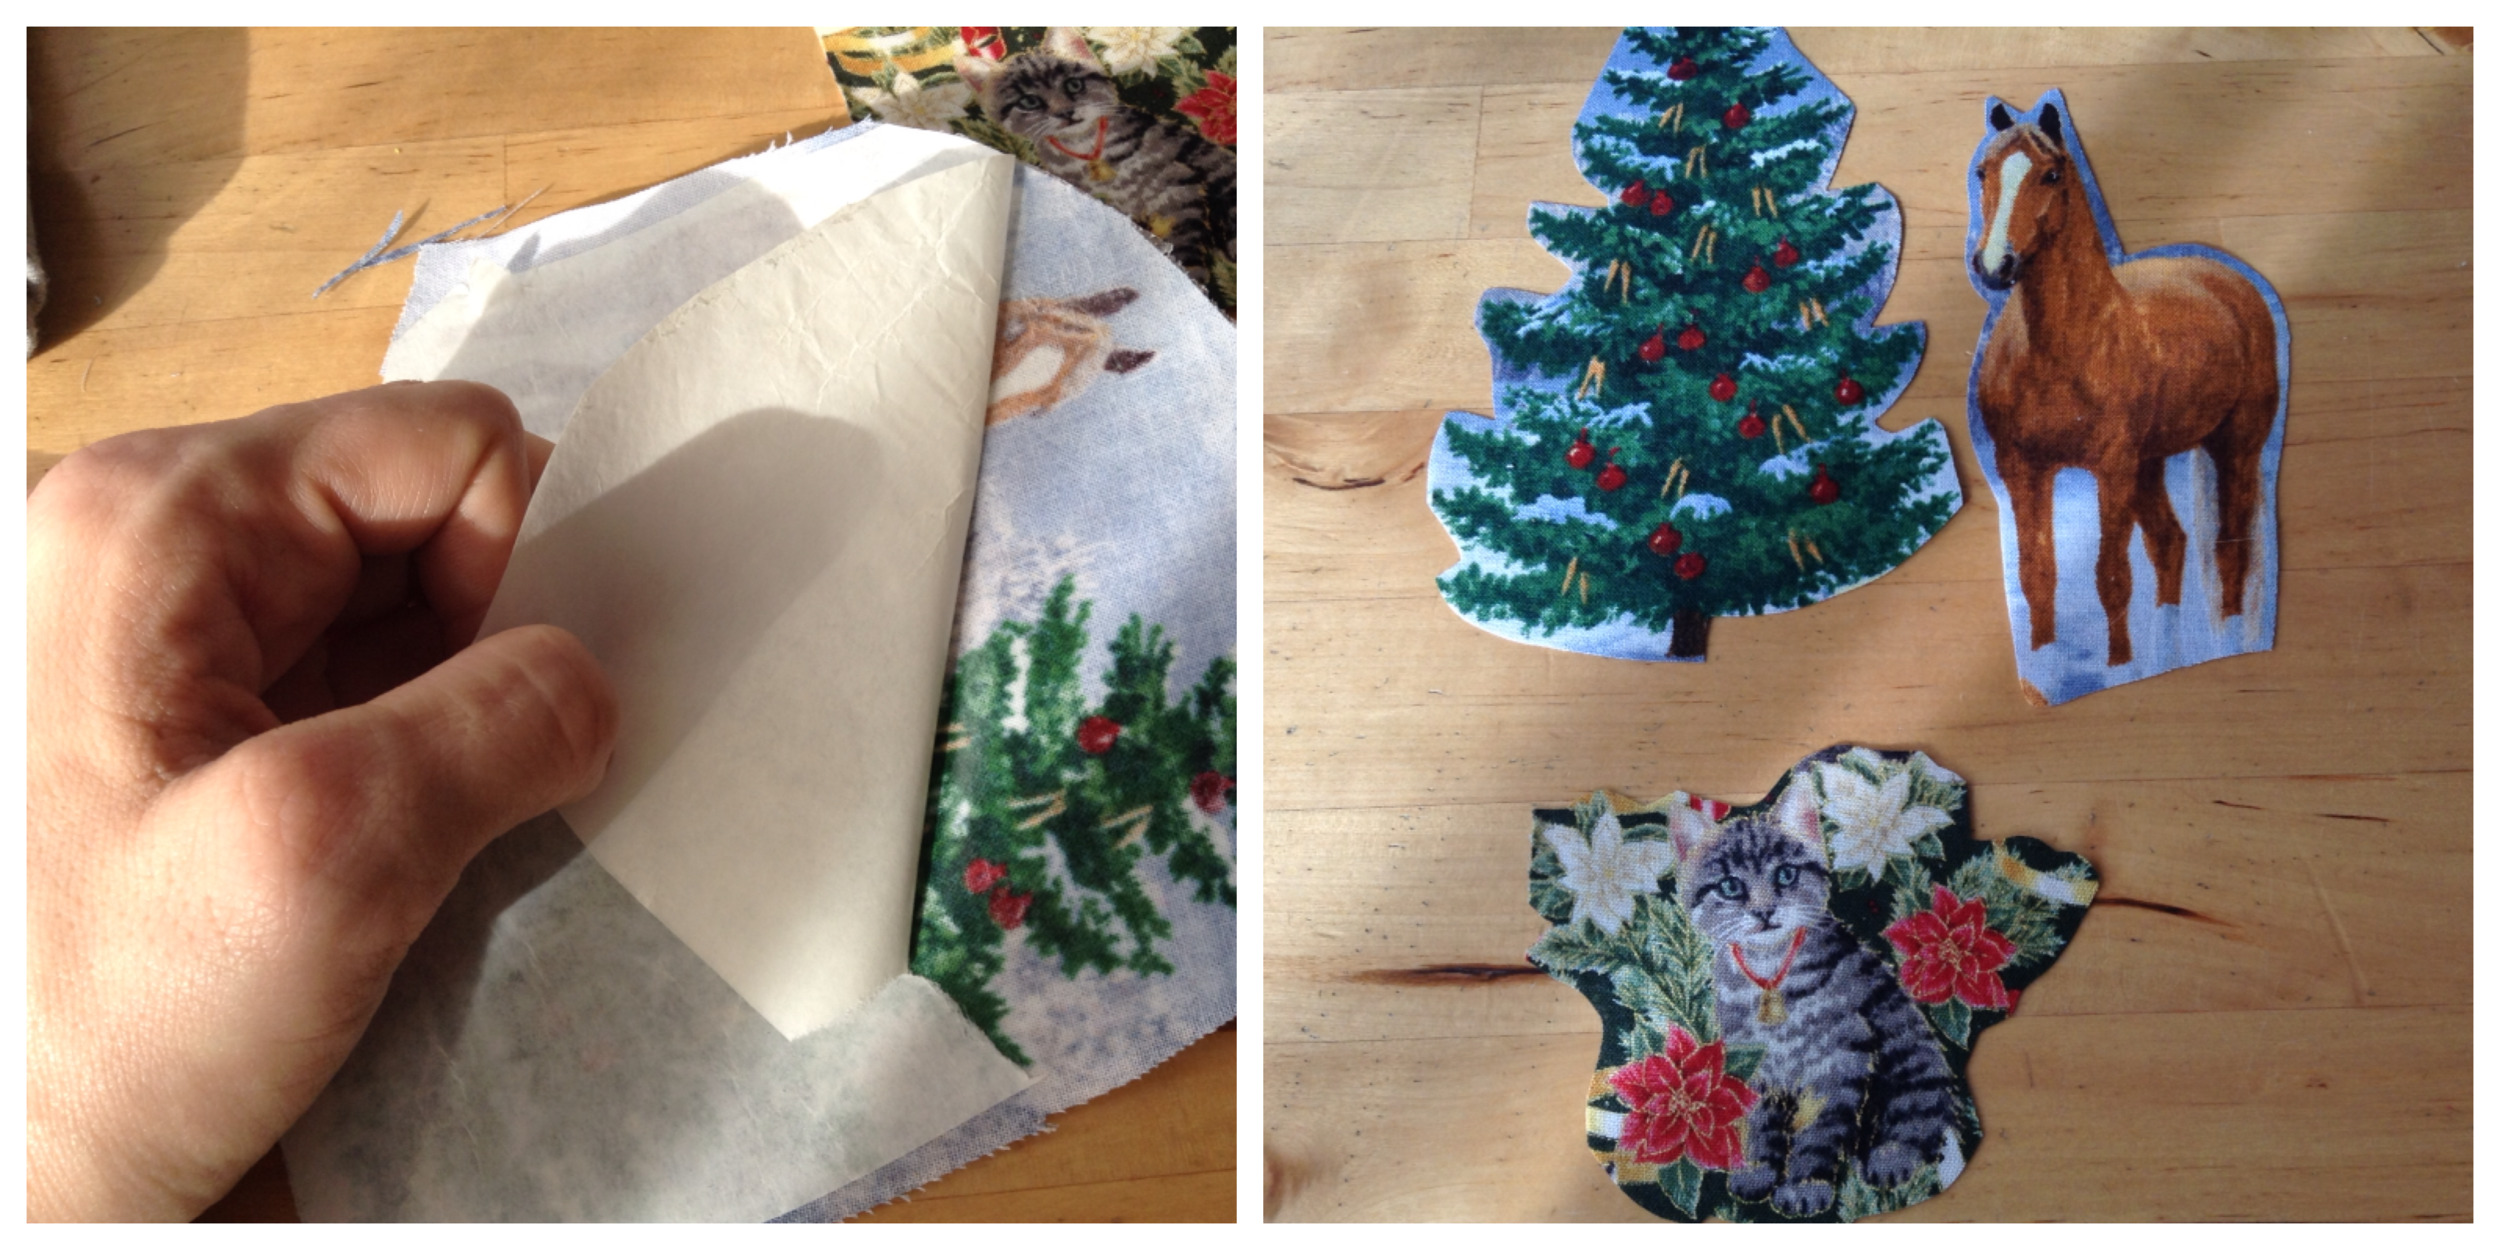
Step 2: Press, don't iron, the Wonder Under to the back of the fabric that you are going to appliqué.
Step 3: Peel off the Wonder Under paper from the fabric. It will feel like a plastic vinyl backing is now on the back of the cloth.
Step 4: Cut out the images/shapes you want to appliqué.
Step 5: Of course, I wanted snowflakes and the Star of Bethlehem on the shirt. So I cut the snowflakes out the way I used to cut paper ones, and drew the star on the paper before I peeled it.
Step 6: Cut out the star, and peel off the paper.
Warning: the more detail in your snowflake, the more time you will spend appliquéing. I recommend simple snowflakes.
Step 7: Make your arrangement of images for your sweatshirt.
Step 8: Press the images, don't iron.
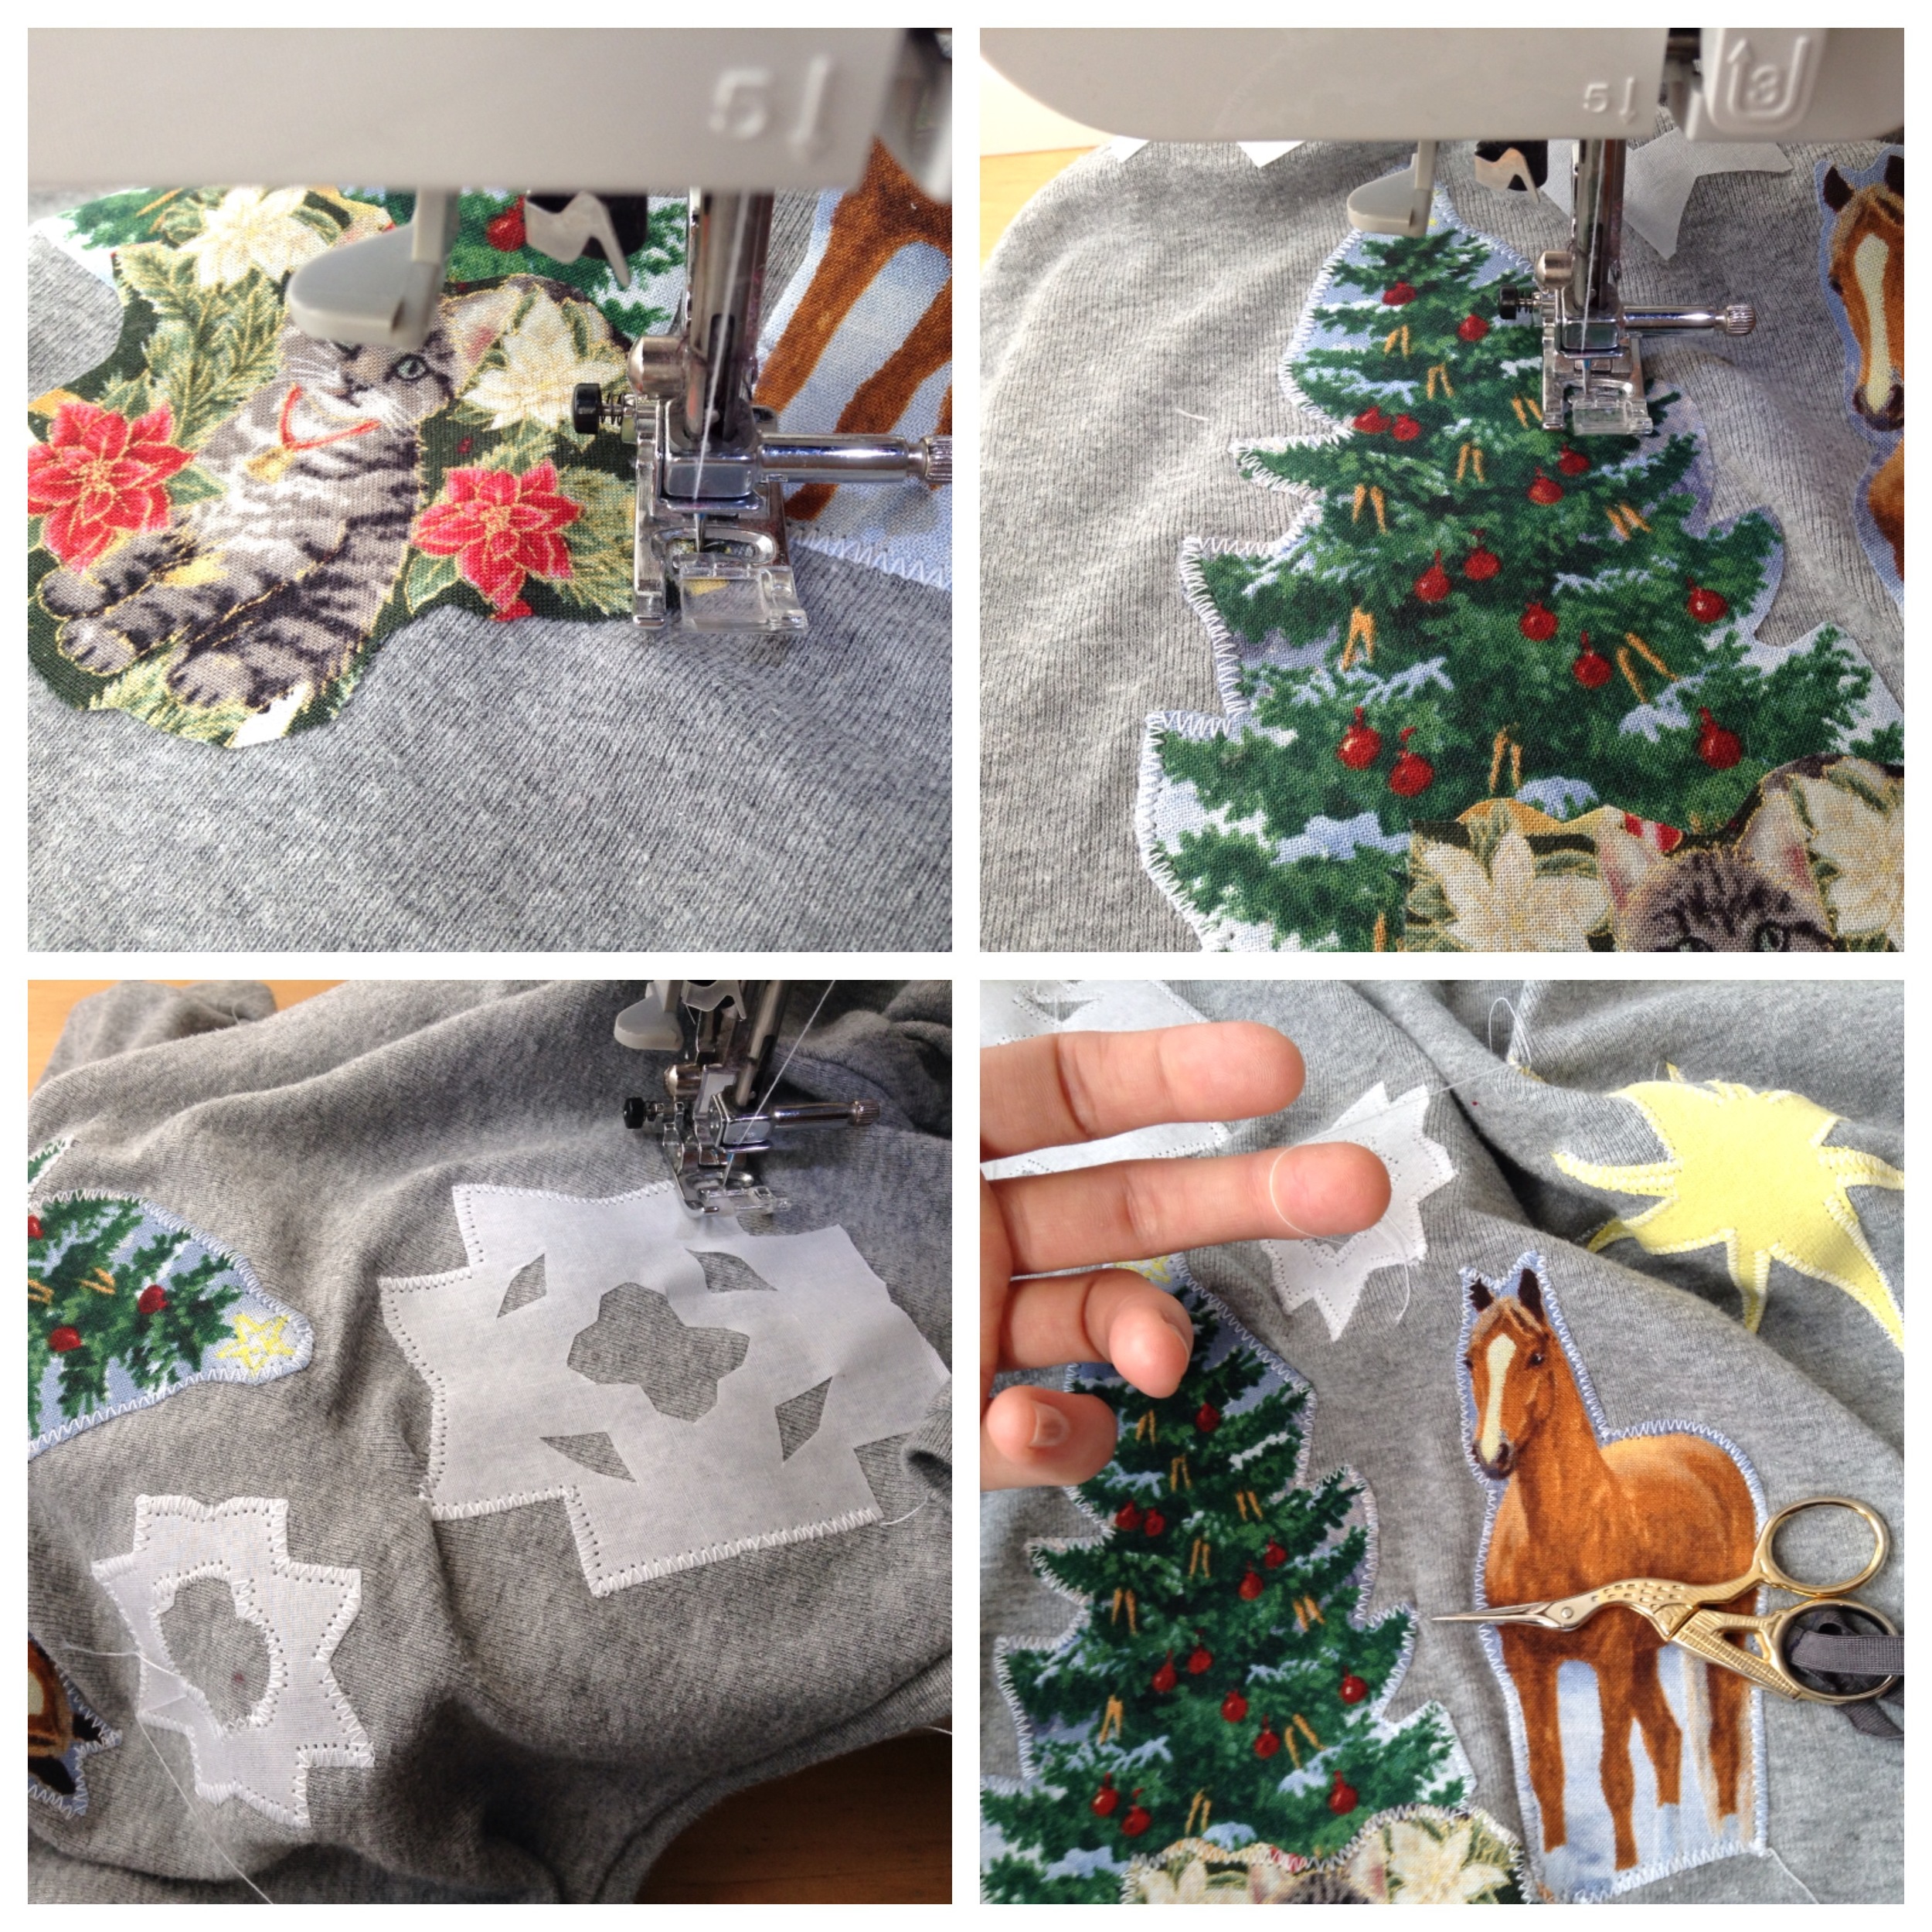
Step 9: Set up your machine on zig zag stitch. You want it to be about half of the maximum zig zag width setting. Set the stitch length to close together, but not satin stitch. Do a test stitch first.
Step 10: Make your way around the outline of the images. Go slow, and pick up your presser foot to make precise pivots. Trim off all stray threads.
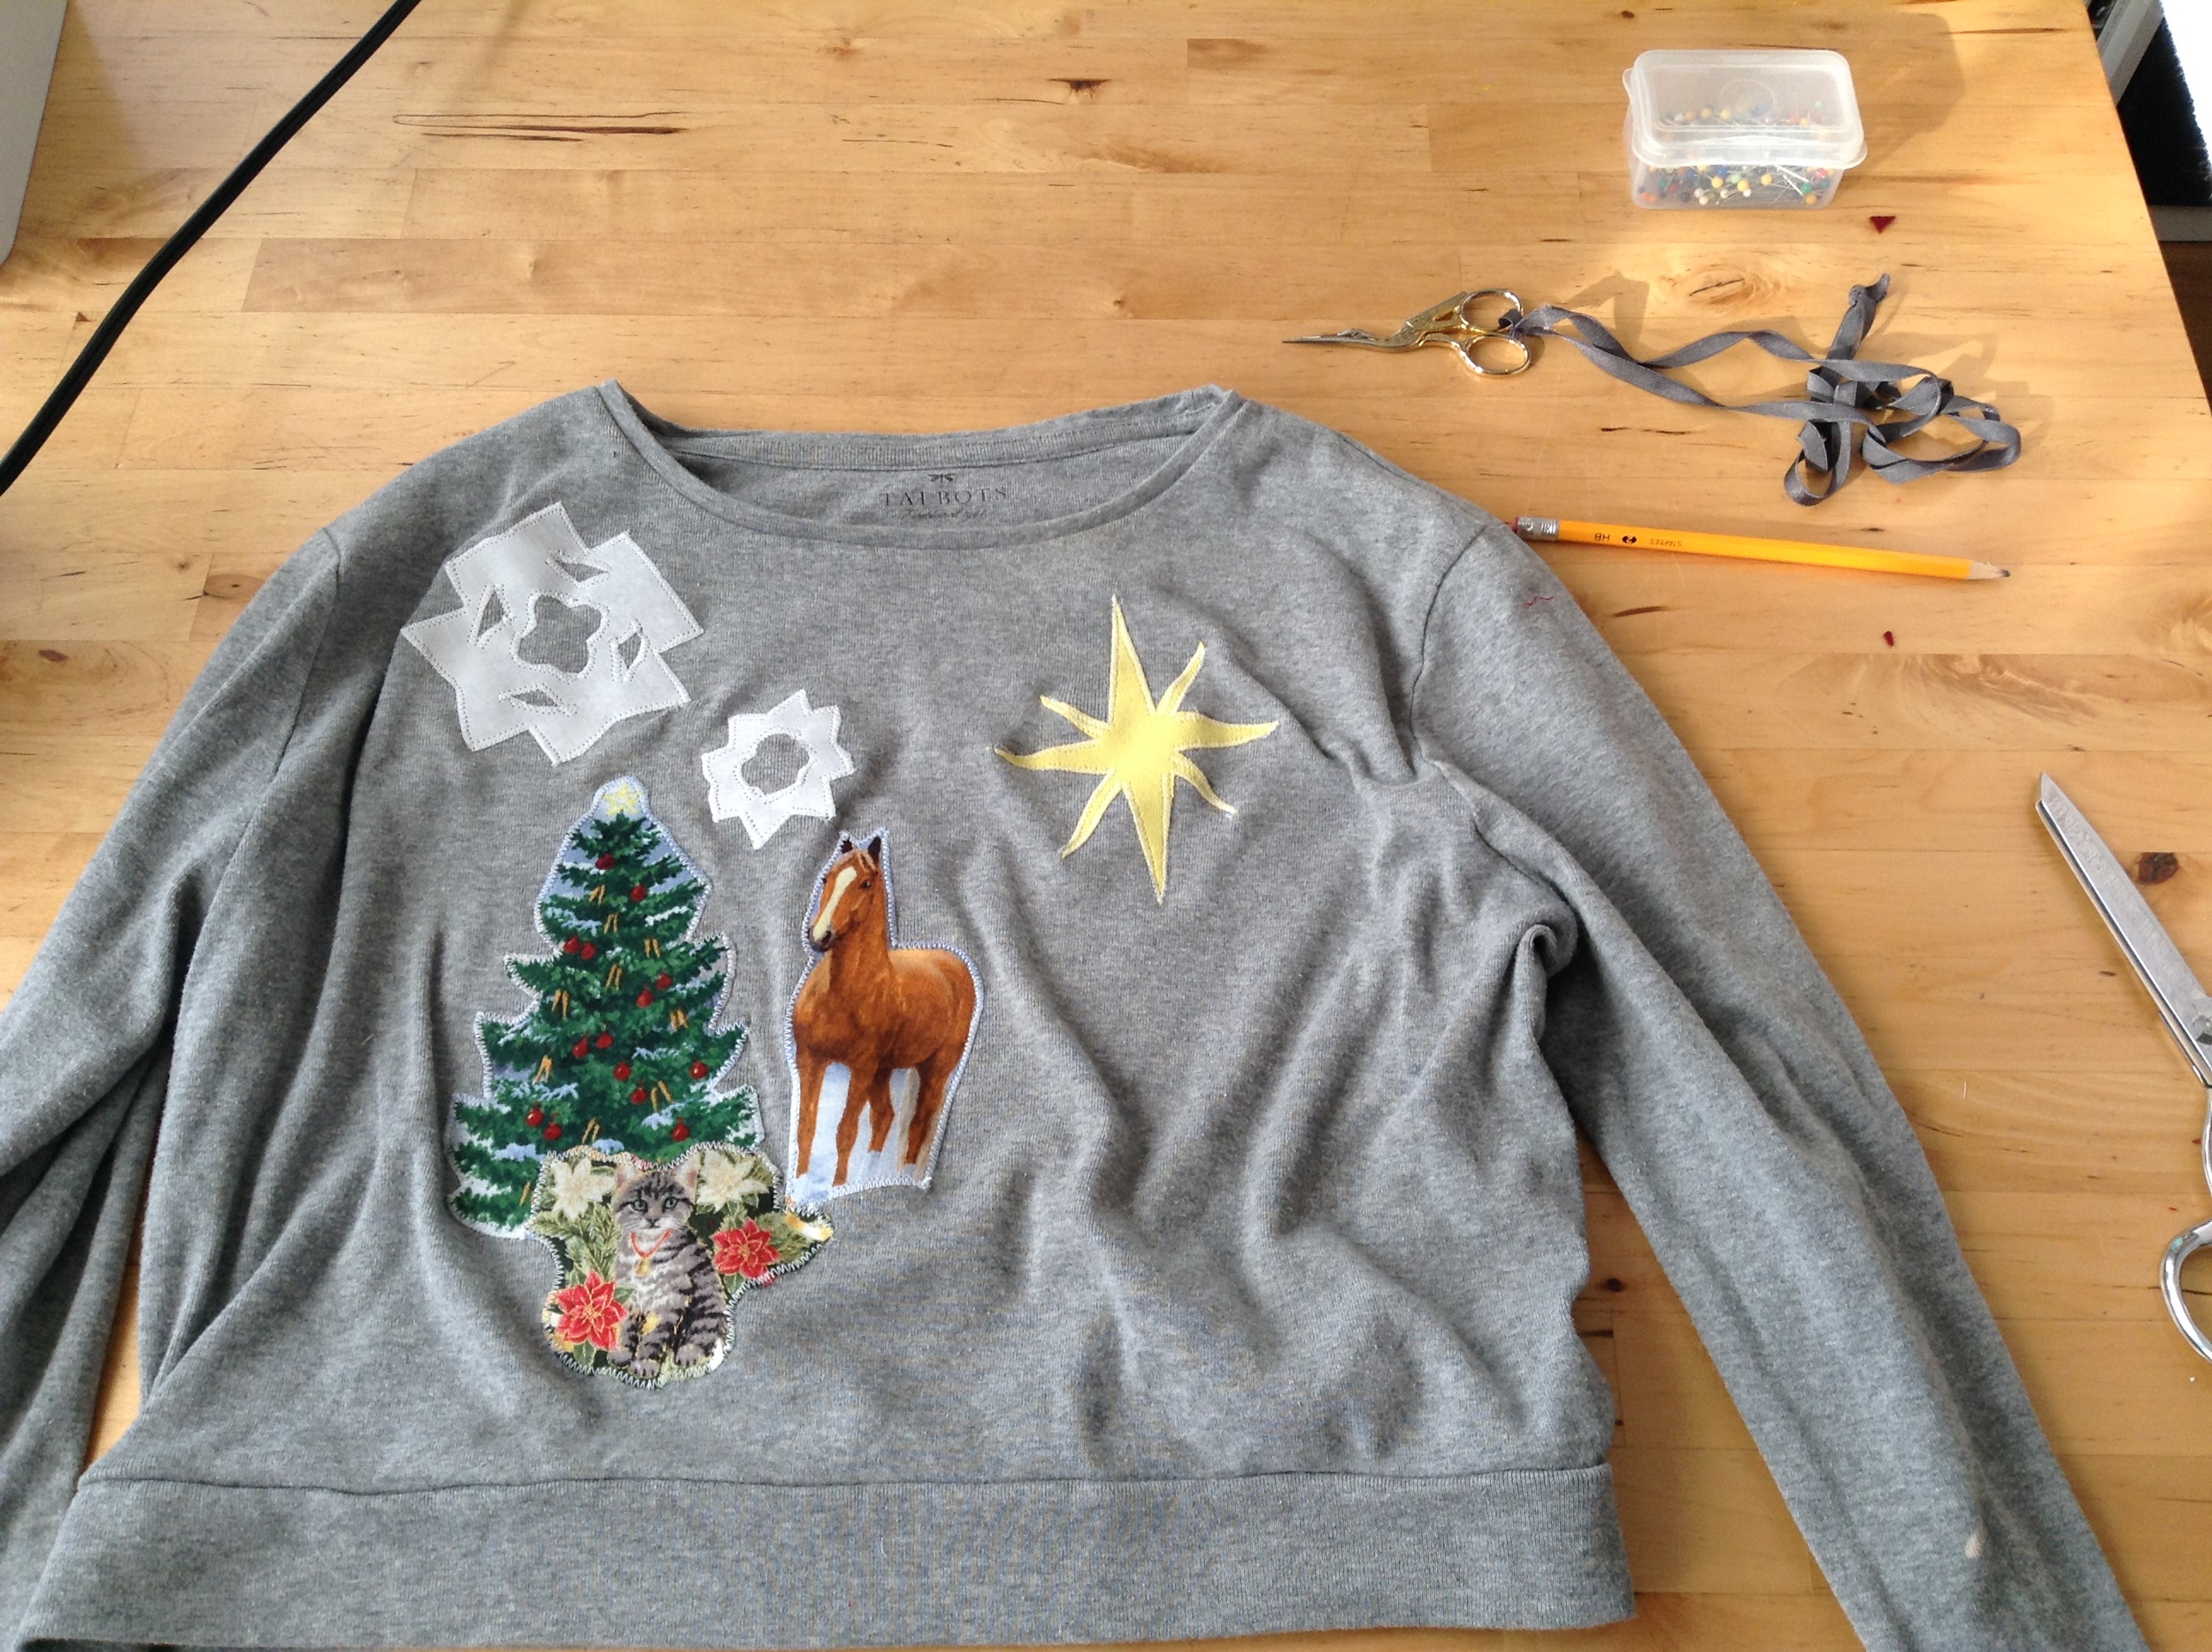
The final result- Christmas wonderfulness! I'm wearing mine today. Believe me- this 30 minute project has brought me many laughs and has put me in the Christmas spirit! If I was to make another one, I'd put an elf on it.
