Pattern and Alteration: How to Make common Sleeve Alterations
In a previous post, I showed you my process for checking the pattern and altering it in certain places before you cut to improve the proportions of your garment’s final fit. In that article, I gave a brief mention to sleeves and sent you to this post, where I will share common alterations for altering sleeves on a sewing pattern, or ready to wear item of clothing.
When I used to do ready to wear alterations, I'd wince when a garment needed a sleeve alteration. Its because it's really tricky to change how a sleeve is set into an armhole. In fact, one of the projects that made me realize that tailoring is a really stressful job, was when a client of mine needed me to take up the shoulders at the shoulder seam, reducing the size of the armhole, and therefore reducing the ease and resetting the sleeve. Until that point, I was relatively fearless, but it was during the course of that project that I really started to see why its a very risky alteration.
When working with a sewing pattern, you might need to add or reduce sleeve ease, and there is a specific formula that helps you know the exact amount of ease you need to set the sleeve. I found it in Lori Knowles's book, The Practical Guide to Patternmaking for Fashion Design. And I've used it a lot ever since. In this post, I'm going to discuss 2 of the most common sleeve alterations, and the sleeve ease formula when working with your own sewing pattens
1. Sleeve Alteration 1: Slimming the Sleeves
As I discussed, in the previous post, getting the sleeves to the right proportion for your body is really important. You want your sleeves to have enough ease to be able to bend your arms, (that can be around 1.5 inches) but an excess of fullness can create the illusion of extra weight on the body. You want to have some space between your arms and waist, and if your sleeves are too full, you will end up with too much fabric at your mid section, which isn't always flattering.
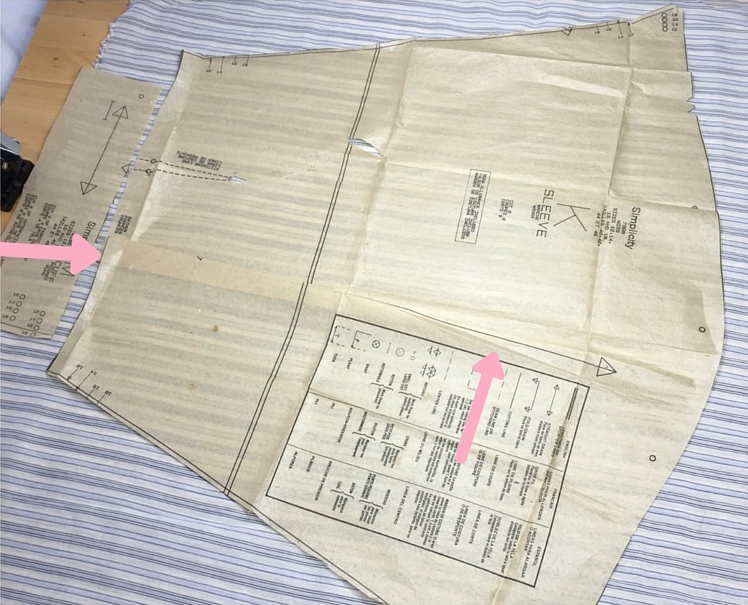
Last week, I showed the way I reduced fullness by adjusting my pattern like this:
But it also helps to see what I am doing on an actual garment. I had an alteration in the studio where the sleeves needed a drastic reduction. I find that a lot of people much prefer a slimmer silhouette. Even when you aren’t the size you want to be, giving your clothes a much more tailored look and removing the bulk in the sizing of your garment will helps a lot. In this video recorded from my Periscope feed, here’s a look into my process for this specific dress, and the method I apply to shorten and slim them.
If it's not a drastic alteration of fullness, you could always cut your pattern down at the side seam, but just remember to zero out the alteration at the armseye, or you are going to get into trouble when it comes time to set the sleeve.
Why is that? Let's get to alteration #2
Sleeve Alteration #2: Adjusting Sleeve Ease
Its not always the case now, as I have found that a lot of patterns I have been sewing lately have a much better amount of ease in the sleeve and set more easily into the armhole without excess gathers or "Pookies." Really, unless the design calls for gathers as a part of the garment, if you are easing in a sleeve to sew it, and you are getting too many pinches of fabric that you can't eliminate, it might be time to reduce the ease so your armhole seam is smooth.
Or, if you have already performed a pattern alteration, say, taking up the bodice at the sleeve, or taking in a garment at the sides, and you have changed the size of the armhole somehow- its going to happen at some point and there's lots of different ways, that's when you need to use the sleeve ease formula to make sure your sleeve is drafted to set in properly. Make sure you have the worksheet so you can see what I'm talking about and use the alterations in future patterns.
To calculate the amount of sleeve ease you need, you measure the front armhole and back armhole. With those 2 numbers you plug them into this formula :
Front Armhole ________ + Back Armhole _______ = ______ multiplied by 8% = __________
That number is the total amount of extra that needs to be in your sleeve ease. I walk you though this visually in the worksheet, so to see how the alteration works to reduce or increase your ease, please check that out next.
I've always seen pattern alterations to be a mix of principles and wizardry, and there's lots that's been written on the topic. This formula though, with its pattern drafting know how, has really helped me when I need to tackle this tricky alteration.


