

Print + Patch part 2. Patchwork!
I'm a little behind on my projects and blog, I found out that its not so easy to manage Fair Fit studio and all of its operations while far from home. But I did finish the wall that I was designing in my last post- scroll down to get a peek at it. And it turns out, I'm getting really good at estimating how much fabric I need to do a wall, because I had exactly enough and was able to paste it to my wall without have to go back to the machine and sew a few more panels.
I did however, have a box of pretty scraps left over, and since we are featuring more classes like Fast and Fun Interiors, I thought that I would mix a few of the lessons from that class, with a few the printing projects that I made for our upcoming Print + Patch class.
In this blog, get a look at how you can make some custom patchwork for your home from your own printed cloth, and how I speed patch! I made my pillow in an hour, not too bad! You can do this too. Read along and see if there's some ideas for your sewing practice that you would like to try.
Disclaimer: I am not formally trained in quilting or do I claim to be an expert in quilting. I love it, and I do it, but these techniques are things I learned on my own, and if you are a quilter and know better and more technical ways, I'd love to hear from you :)
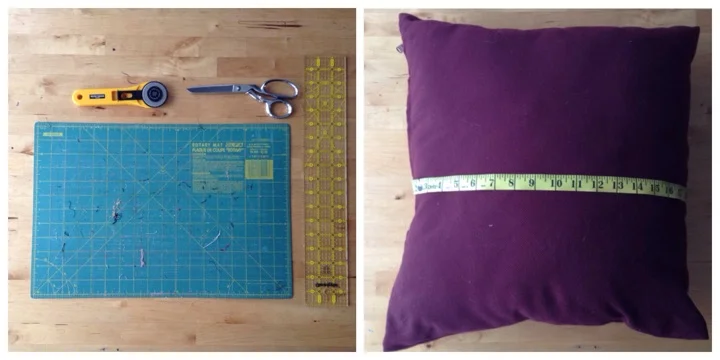
Step 1: Set yourself up to sew with the proper tools. For patchwork, I use a small cutting mat and rotary cutter, and use my Omnigrid ruler to help me get a straight cut. Obviously you can see my mat has been much loved...seriously should replace this soon.
Step 2: Measure your pillow and add 2 inches of seam allowance to the length and width.
Step 3: Math! If my final pillow needs to be 20X20- here I'm not thinking about the seam allowance included. I need to determine how big my patch will be. I am making a 4 inch square, then I need to divide 20 by 4, which is 5. 5X5=25. That's 25 squares per side, so I multiply that by 2 which gives me 50. I need to cut 50 squares.
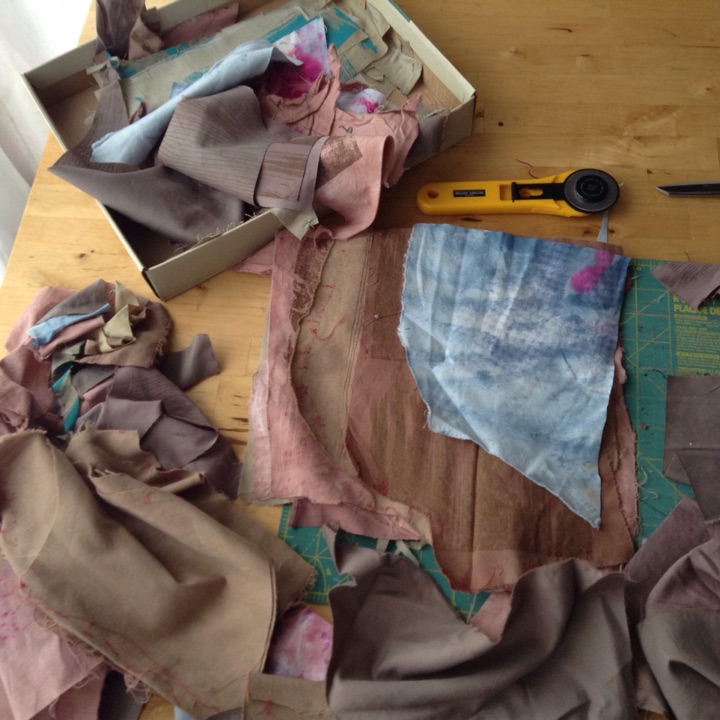
Step 4: Sort your scraps to the approximate size you want your pillow to be. I wanted a 4X4 square, so I add .5 in seam allowance for the patches. When I quilt, I use .25 seam allowance so that must be added when I cut the scraps or they will be too small after they are sewn.

Step 5: To get this pillow sewn in under an hour, I stack my scraps. I try to cut at least 4 to 5 at once. Don't do this if you aren't experienced with a rotary cutter, but I find it saves me so much time and effort
Step 6: Cut all 4 sides. The first cut should be to get a straight line. The second cut is usually to determine the width, and the third cut squares it off. Check your squares to see if there is another square you can cut out of the scrap, and then restack them and follow the same procedure.

Step 7: Now arrange the patches and line the colors up the way you like them.

Step 8: To sew quickly, I sew as many of the patches as I can all at once. What I do is match up the sides, then sew them one after the other through my sewing machine. I never stop to backstitch, I just make one continuous seam. Then I cut and separate them, putting them back in the order I created for their color arrangement.
Step 9: I keep going. I line up the 2 squares at their seam allowance, and sew. Now I have 4 square strips. Then I sew the 4 square strips length wise. You can see its a process of deduction and soon I get to the last strip of 5 to sew to the side and I'm done. Press everything!
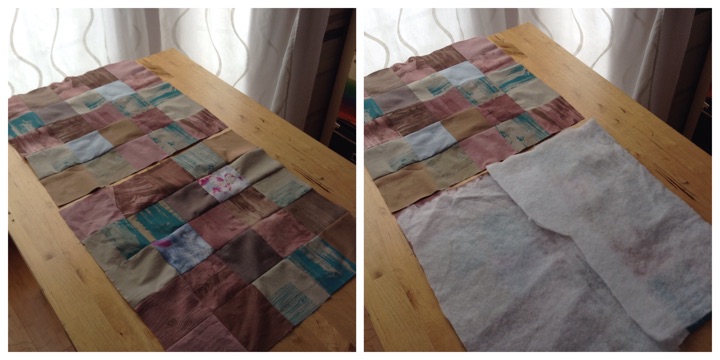
Step 10: I'm going to add batting. Batting will make my pillow case strong, reinforce my patchwork, and will give the patching some dimension. You don't have to do this, but if you are sewing thin cotton, I recommend it.
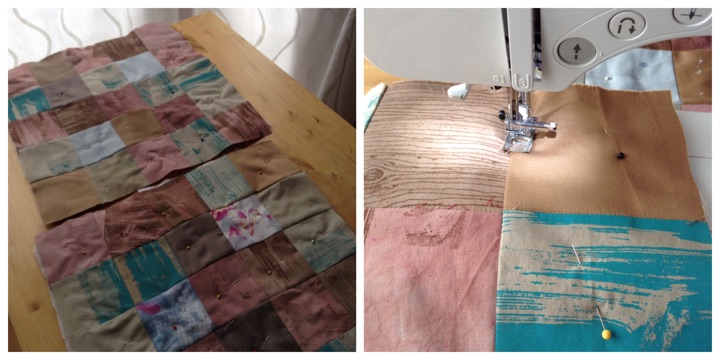
Step 11: Pin the batting to the back of the cloth and stitch in the ditch between your quilt squares. Here is one of those instances where its a good idea to increase your stitch length to compensate for the batting.

Step 12: Zipper Steps.
- Serge or zigzag seam one side of each square. This will be the 2 edges along the side of the zipper.
- Fold serged side up 1/2 inch. Press this side on both squares.
- Pin pressed edges, right side up to zipper. Sew close to the folded edge.
- Unzip the zipper a little bit to prepare for when you flip the pillow right side out. Trust me, don't skip this step. Otherwise, you will have to wiggle your finger into a tiny hole and try to move that zipper- if you can. If you can't then you will have to rip out some stitches and resew the area near the zipper slider.

Step 13: Fold pillow at zipper, wrong side facing you. The pillow is now square and the patches are on the inside of the pillow. Sew the 3 raw edges, matching the edge of the squares up as close as you can. Flip right side out and insert your pillow.
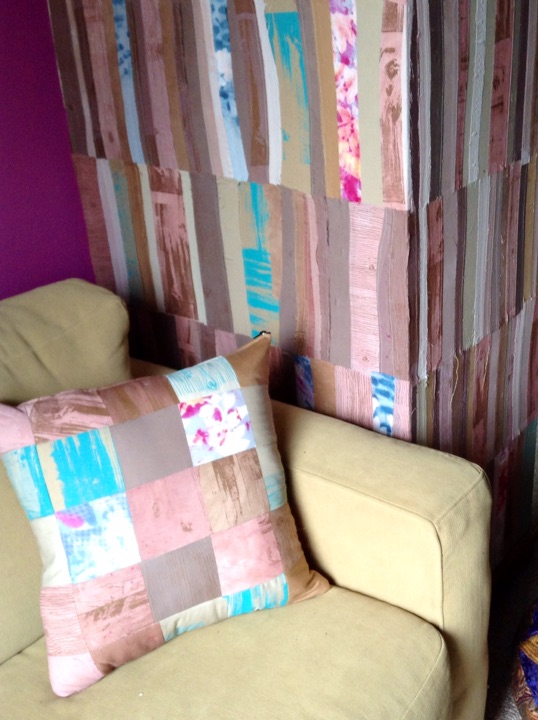
Here's my pillow! And a bit of a look at my wall. When I get some afternoon light coming in the west window, I'll post a more complete picture. For right now, here's my pillow. And the fun part is that its made from my own fabric, that I made, and the colors that I chose! I tend to go on the wild side with color, but learning how to print your own means that you get to choose. And that's the best :)
If you want to learn how to print your own fabric, don't miss Print + Patch on March 17th. You will get to make your own design and make a screen so you can do more at home. I only offer surface design classes every so often, I hope you can join me while I have the opportunity to teach one of my favorite techniques.

