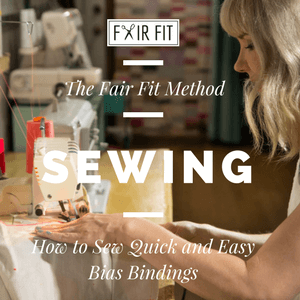
How to Sew Pop Over Plackets
Have you ever found yourself confused by pop over placket instructions? I have found that if you can combine a few of the steps and knock 2 or 3 of them out at a time, it's much easier and faster and actually makes sewing a popover placket fun. Also, pop over plackets are an opportunity to practice your own precision and attention to detail in your sewing.
In this post and video tutorial, I'll show you how I sew the pop over placket that I added to the Fair Fit dress I'm creating. I hope it's helpful for the Fair Fit Method students who are following along and crafting this design, as well as for any of you readers who are looking to learn more approaches to sewing these tricky details.

In this video, I show you my process for sewing pop over plackets for every sewing project that I have that calls for them. They are more involved than your more basic shirt placket, but once you get a few of them under your belt you will find that they aren't as intimidating as they appear.
It is critical to go slow as what will make or break the look of the placket is how accurately you are able to pivot at the corners and sew a nice straight line. You can also experiment with the type of thread you are using, and incorporate some nice top stitching thread and use a topstitching needle.
The process from the video
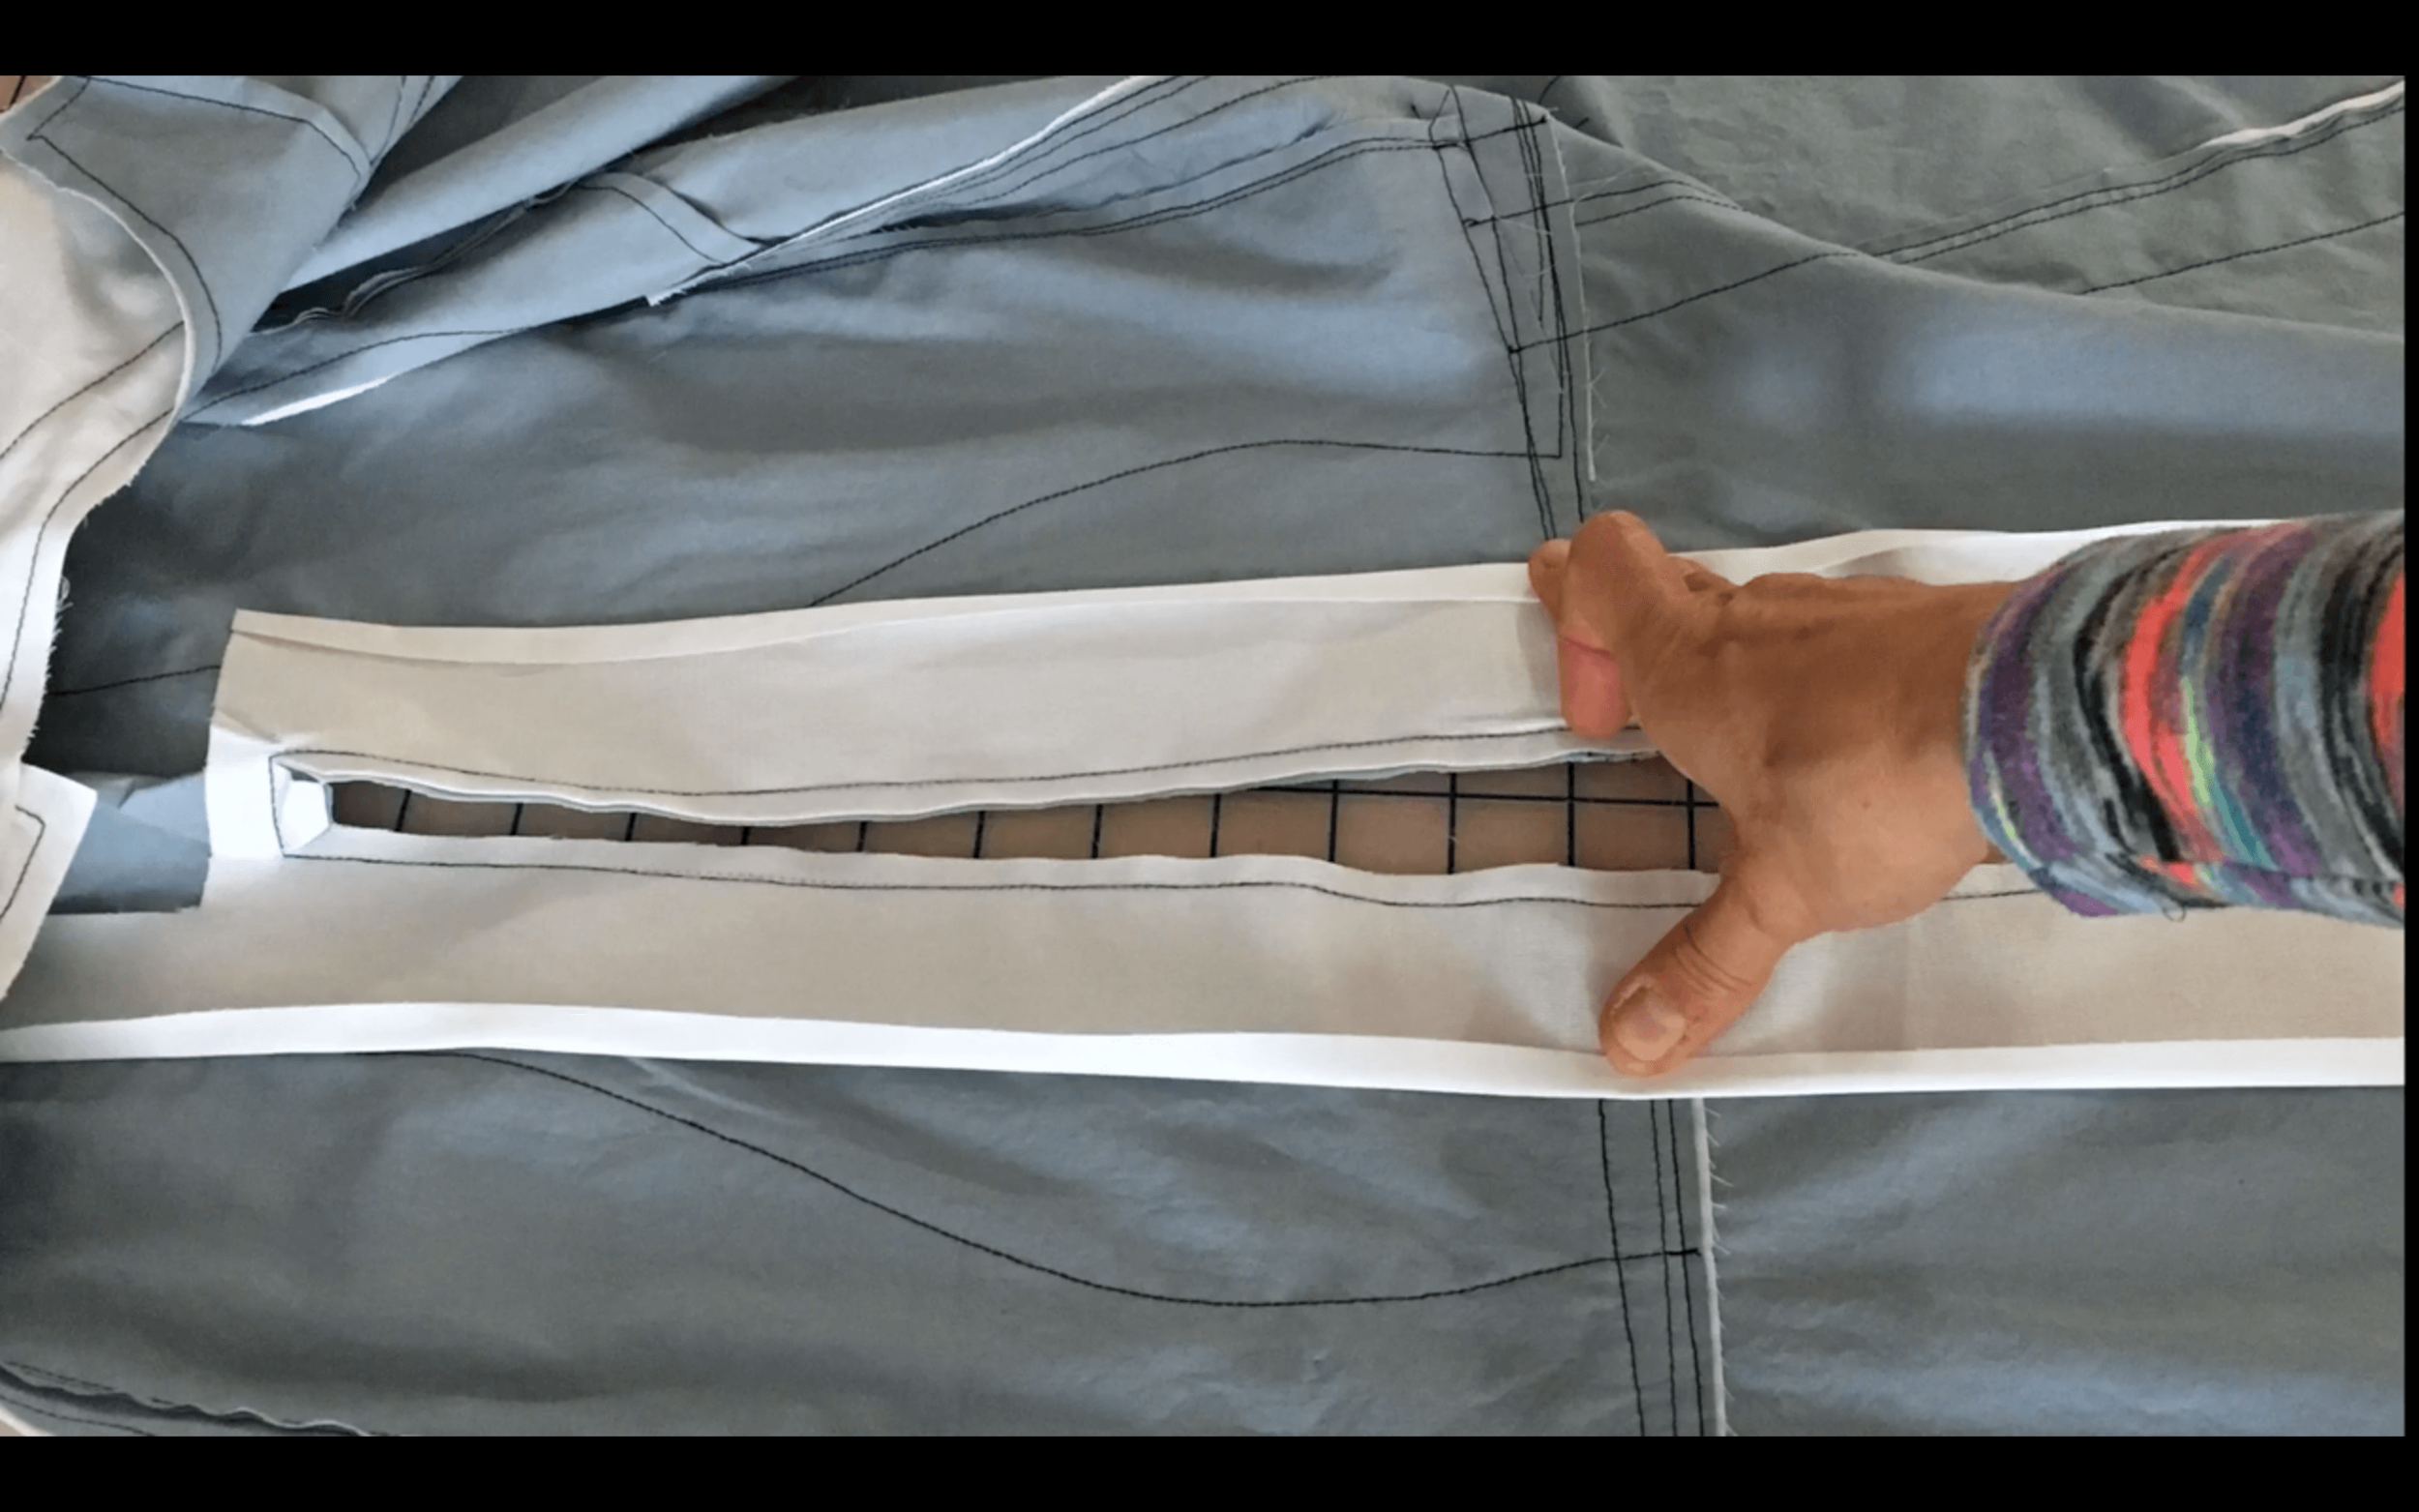
Lay the placket down over the CF cut line, interfaced side up, on the inside of the garment.
Sew the sew lines and notch the corners.
Fold the entire placket toward the outside of the dress and press. Be sure to get right up against the seams.
Fold each side of the placket in to line up with the sewn line.
Sew the inside button placket from top to hem at 1/16 to 1/8 an inch away from the fold line.
Repeat for the other side, and then line up the front of the placket over the back placket. Use pins to keep them in place.
Fold the top of the "tower" on the placket. Pin in place.
Sew all corners and across the placket.
Mark your buttonholes.
Drape the side seam if you are making this Fair Fit project.
I hope the video helped you see the overall process. I know I've struggled with written and illustrated versions of instructions with these, so maybe this video will help any of you who have project with a popover placket and you want more assistance with the process.
If you want to create your own custom self sewn clothes and like this way of learning, I want to invite you to check out my signature online courses, the Fair Fit Method. It is a series of online sewing and fashion design courses that will teach you how to create custom clothing for yourself that adapts to your personal shape and style. Using the Fair Fit pattern and the 6 core areas of focus - design, pattern, draping, check fit, sewing, and customization, you can create your own artistically and intentionally designed wardrobe using the step by step videos in each course. To learn more and read the full course descriptions visit the full website here: