
How to Sew Quick and Easy Button Plackets
In 2015, when I was sewing for a television show, I faced some very tight deadlines. Can you imagine having to sew a classic menswear shirt with collar, cuffs, plackets in under 3 hours? Luckily, I worked with a key seamstress who instructed me how to eliminate some of the steps and get the same final result in order to speed up my sewing and increase efficiency.
Now, I use these techniques in all of my wardrobe sewing and especially to speed up my shirt making. In this post and video tutorial, I'll show you how I button plackets quickly and efficiently by eliminating and combining steps and reducing the amount of fiddle factor that I find in a lot placket sewing instructions. I hope it's helpful for the Fair Fit Method students who are following along and crafting this design, as well as for any of you readers who are looking to learn more approaches to sewing these fine details.
Ever since I learned this method, I have never gone back to sewing plackets any other way. It's so easy and I always get a great result. If I'm using a pattern that is not my design, I make sure to adapt it in order be able to sew the placket this way, as I have no use for any fiddling!
Pretty much it eliminates the need for stitch in the ditch on the final step. So instead of sewing 2 seams, you can knock out your placket in just one.
The process from the video
Create the placket by cutting it 3 inches wide, and however long your shirt or dress totals.
Prepare the placket by interfacing the inside.
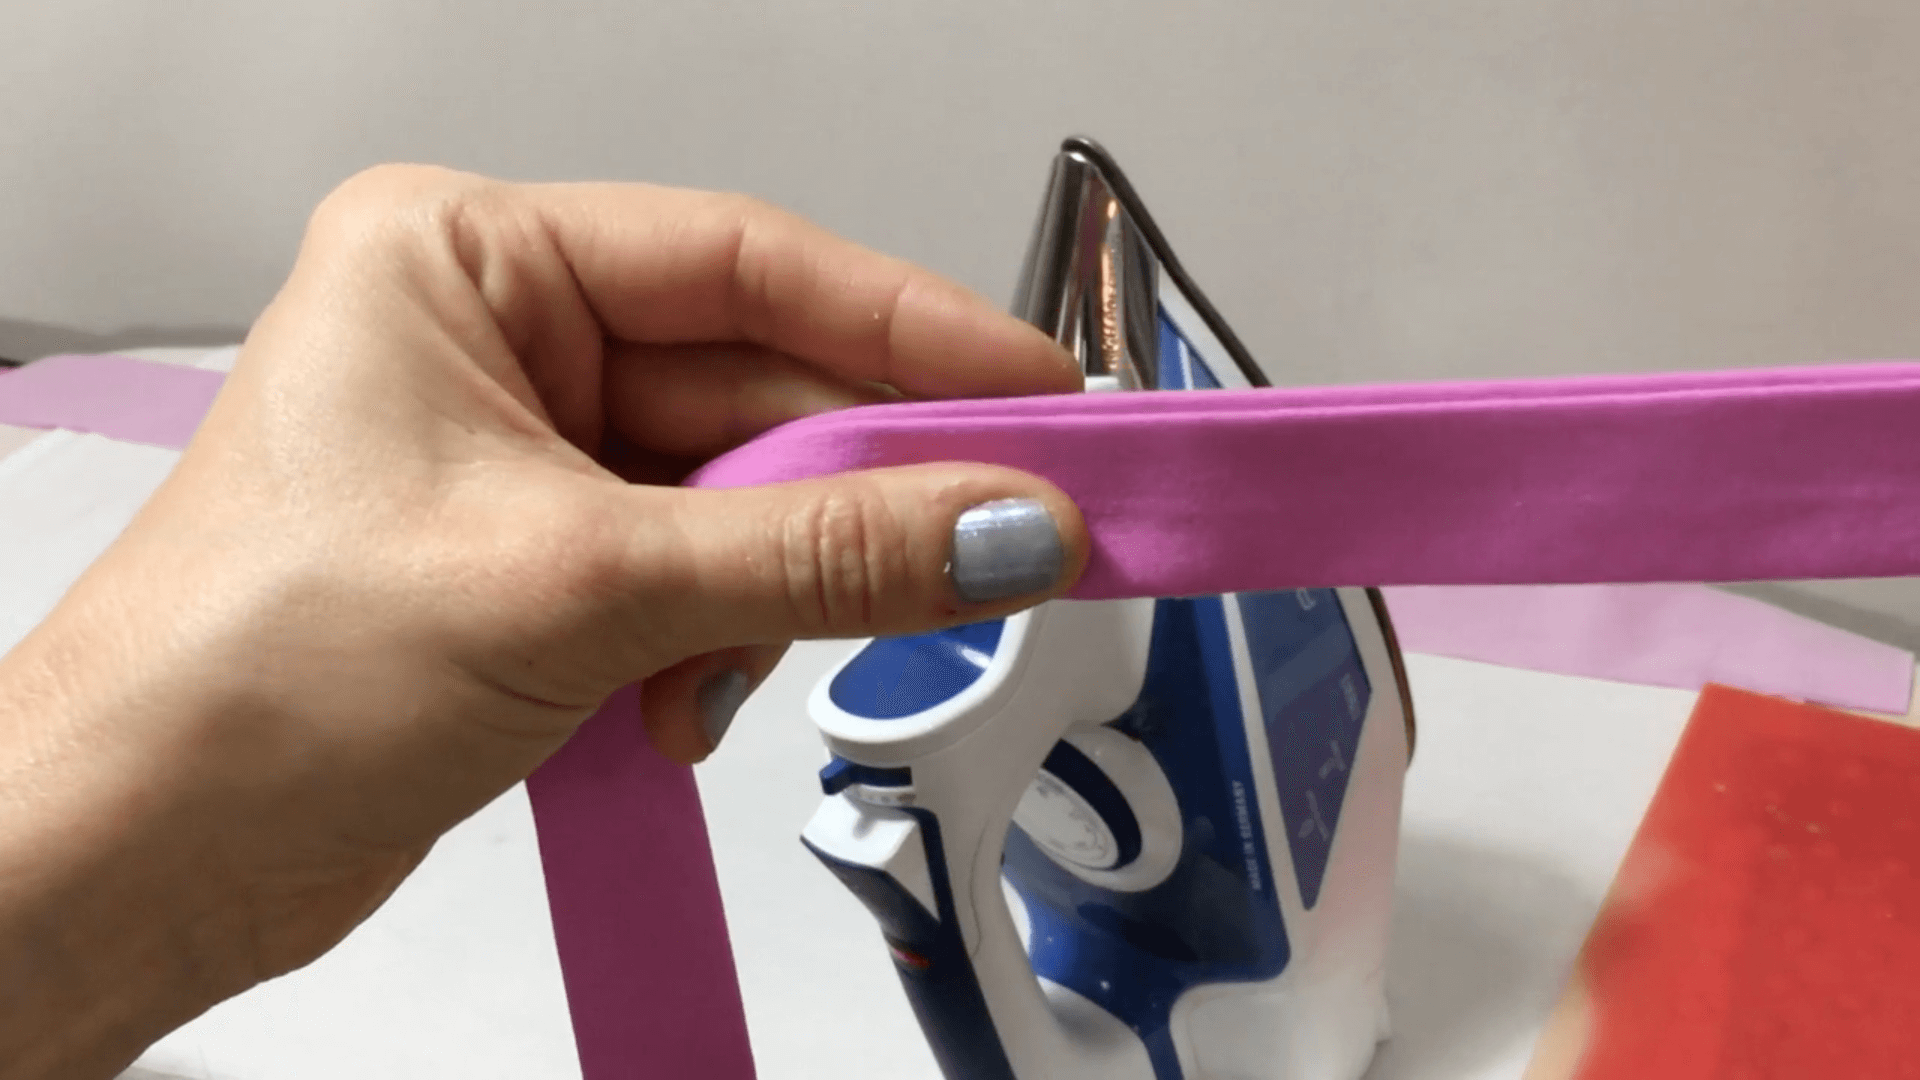
Fold it in half lengthwise and press.
Next, fold one side in at seam allowance. Mine was 1/2 inch.
Then, fold the other side over the first side folded. This will be a little less than your first measurement - so mine was about 3/8 an inch.
Tuck that folded edge inside the placket and press the entire placket.
Pin the placket on the front of the garment. The side that's just a little bit bigger is the back of the placket (the one with the lip). Next open up the placket and line up the edge of the garment exactly with the seam allowance. So if your placket SA is 1/2 inch you will tuck in the garment into the placket at 1/2 an inch.
Pin at right angles with the pinheads toward the outside as shown.
Finally, sew along the folded edge as shown, trying to stay 1/16 to 1/8 an inch away from the edge.
Give this method a shot the next time you sew a shirt and see if it speeds you up and makes your sewing easier.
If you want to create your own custom self sewn clothes and like this way of learning, I want to invite you to check out my signature online courses, the Fair Fit Method. It is a series of online sewing and fashion design courses that will teach you how to create custom clothing for yourself that adapts to your personal shape and style. Using the Fair Fit pattern and the 6 core areas of focus - design, pattern, draping, check fit, sewing, and customization, you can create your own artistically and intentionally designed wardrobe using the step by step videos in each course. To learn more and read the full course descriptions visit the full website here: