
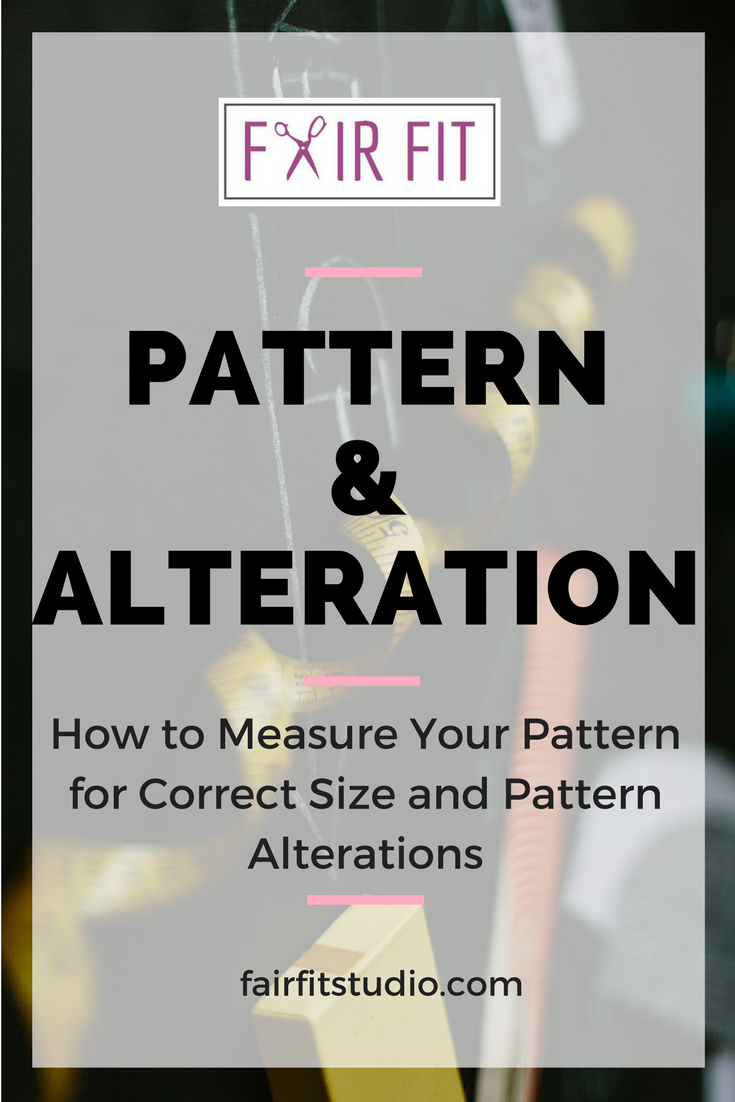
Pattern and Proportion: How to Measure Your Pattern for Correct Size and Alterations
This last fall, I worked with a lot of students who were making the jump from a beginner sewist, to a more intermediate level of making. They had already completed a few patterns on their own, made a few beginner garments, but were kind of stuck as to what was going wrong with the fit. For those of you with a lot of sewing under your belt, you know how they must have felt- don’t you just HATE it when you sew up your pattern, and when you finally get it on, it doesn’t fit?
Today I want to share with you some principles and initial steps to take in the beginning with your sewing pattern that will help you avoid sewing up a garment that doesn't fit. If you measure the pieces that I am going to demonstrate in this article, then your likely hood of a successful sew is going to increase 50%.
1. When determining your size, go by the measurement that is your largest measurement.
First of all, you really need to know what size to cut out of your pattern. On most commercial patterns, your pattern size is determined by 3 measurements- bust, waist, and hips. If you circle your sizes, and you find that your bust lands in size 12, but your waist lands in size 14, go with size 14.
You will want to do this for good reason. I always tell my students you can always cut away, but you can’t add back the fabric that you cut. Because commercial patterns are standardized, they are not accounting for all of the nuances the human form. You need to go with the measurement that is the largest, and know that you will have to do a quick sew up of the piece to check the fit and make the alterations in the places that you are smaller.
Now, there are some instances where the pattern includes a lot of ease, and going up a size is going to result in a final garment that is huge. Later in the post, I'll teach you how to address that problem, so stay with me.
2. Before you cut the pattern, recheck your Bust, Waist and Hip measurement, on the actual sewing pattern
This is how you find the "finished garment measuremnents." I do this all the time, because not all patterns have comprehensive finished garment measurements. Sometimes, all they are going to tell you is the length and that's not very helpful when you need to know how this pattern will compare to your body width and circumference.
It helps to cut out the pattern to its largest size first, but before I cut my actual size on the pattern, I lay my measuring tape over the main body pieces. I check the bust, waist and hips, and if there is enough ease (ease means how loose or tight a garment fits), then I may cut to a smaller size to get a more precise and tailored fit. Or if I’m seeing that there really isn’t enough room in the hips for a pair of pants- then I will cut up a size, and make sure to test the fit and cut down later for alterations.
3. Are you checking your garment as you sew?
To make sure my garment is on the right track, you should do a basic sew up before getting into any details like pockets, collars, zippers, or waistbands. That means for a shirt, I sew the shoulders and side seams, and then try it on. If its looking huge, I cut it down. If I’m making a pair of pants, I sew the legs and one side of the waist, leaving room for a zipper later. I try them on. If they aren’t right, too big or too small, I go back to my pattern and recut. Hopefully in all cases, what you are doing is cutting down, because if its too small, you are back to the drawing board and should recut the garment. Use muslin or cut a preliminary garment from old sheets if you are scared of wasting fabric.
Also, for preliminary measuring to work in your favor, don’t forget to account for seam allowance and for darts, which I remind you to do in the workbook. Recently when I was sewing a vintage pattern, I was scared it would be too tight, and as soon as I subtracted the darts, I realized it was! So I reduced the intake of the dart from it Original size of 1 inch down to .5 inch, and it worked fine. And that my friends, saved me some seam ripping.
4. For tops, jackets, and dresses, check upper bust, and lower bust.
A good way for women to check the fit of the bodice of a garment is to also get an upper bust measurement, and a lower bust measurement. The upper bust helps you if you have wider/or narrow shoulders, and the lower bust is good so that you can check the width of the ribcage. These measurements are critical before you start cutting down a size. If you have a larger bust size and the upper bust measurement on your pattern is way too big, then you can safely cut down. However, if you need more room in the back, and have wider shoulders, then it might not be wise to cut your pattern down. It might make your garment too small in that one area and that can be uncomfortable. Don’t worry, you will get to adjust the pattern and your garment a little later in the sewing process.
Not sure what this means? Don’t fret, first try sewing a garment up first with test fabric. If there isn’t enough room in the shoulders, that’s where these measurements really count, and you should check them from now on. If a garment is swimming on you in the shoulders and top, then that upper bust measurement is really going to help you know to cut a smaller size next time.

5. Check your lengths
I know from my many client alterations and patternmaking endeavors, usually the length of your torso, arms, and legs always gets adjusted. Its a smart idea to save you some time and later alterations check the center front length of your garment. That will tell you if you need to take up the hem. To do this measurement either check just at the collar bone and measure down, or if you have a deeper neckline, start at the shoulder and measure down.
You can measure your inseam - from the crotch to the ankle- to check your pants to see if they need to be lengthened or shortened.
And check your sleeves before sewing them in or adding the cuffs! Most people need to shorten their sleeves, so start at the shoulder tip (the bone at the very top of your arm) and measure down to your wrist, or wherever you want the sleeve to end.
Make sure you use the shorten here/lengthen here line to make your alterations, before you cut the pattern pieces from the cloth.
Taking these steps in the beginning will help you avoid pattern mishaps and save you a lot of wasted time, energy, and cloth. And if this post was helpful, and you want more in depth lessons like these, in my email newsletter, I send articles to teach you sewing practices to create clothing that is meaningful to you. Sign up to receive email lessons on garment design, the latest blog posts and video tutorials, and all the latest class announcements and promotions.